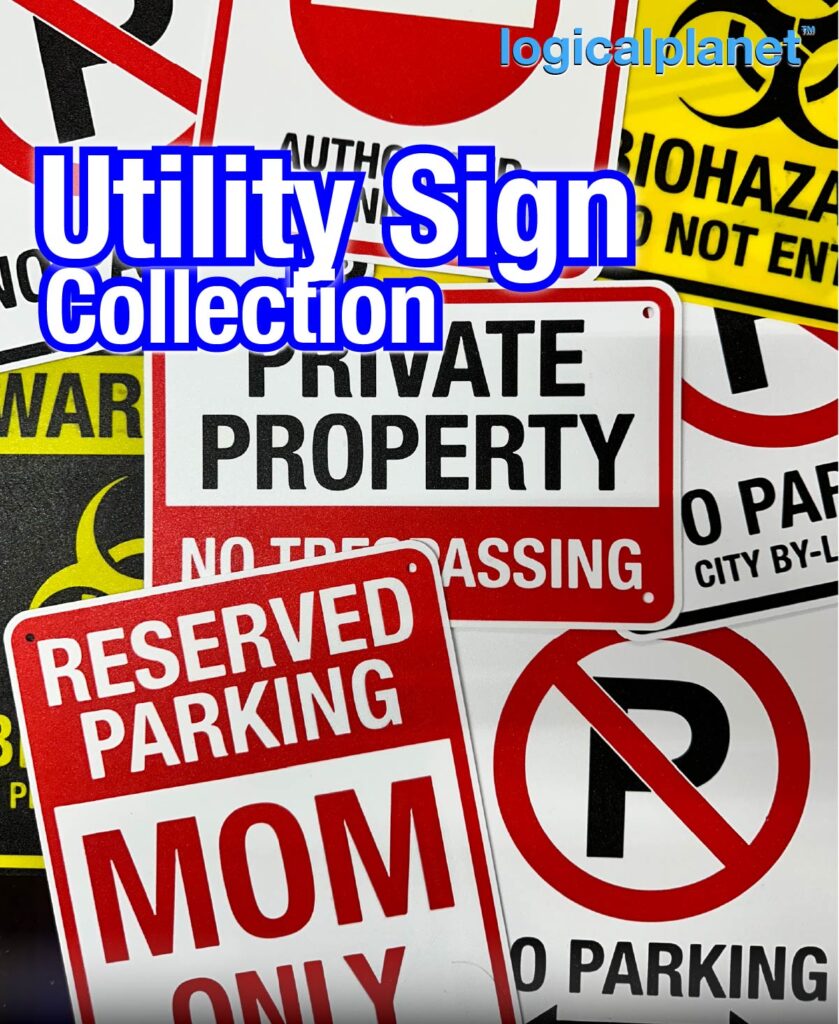
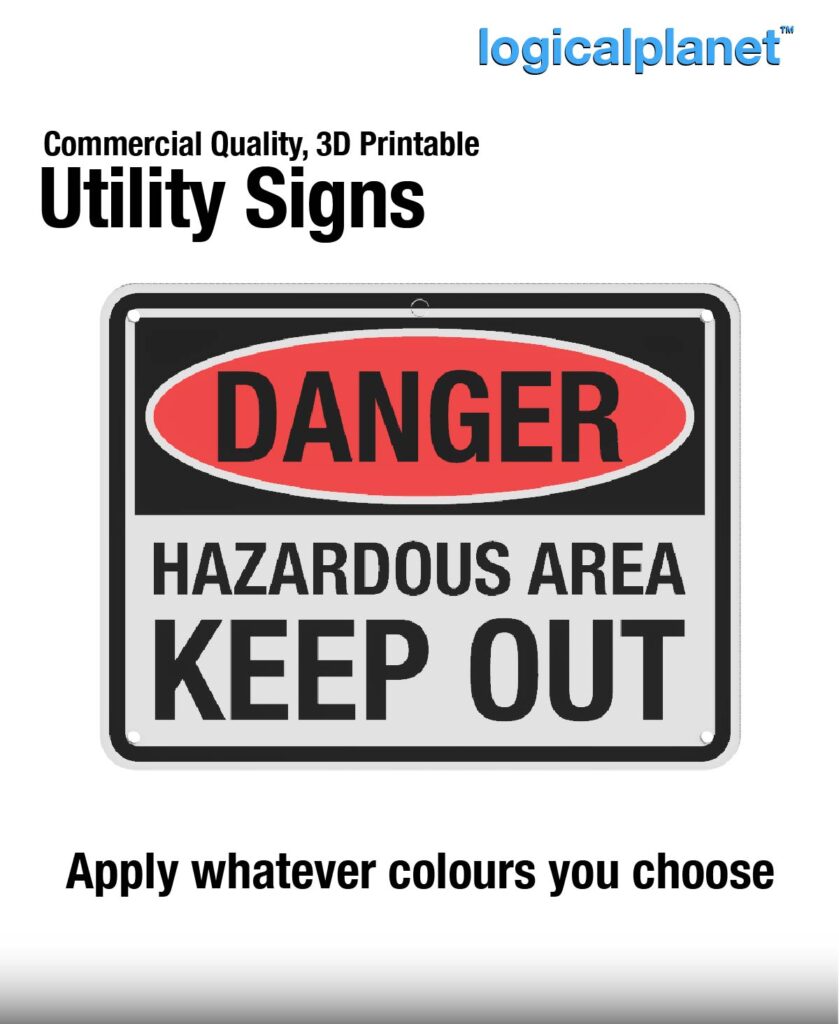
As I learned while making the printable flags over the past few weeks, the 3D printer (with AMS) is an awesome tool for printing graphics for some specific applications. And, one of them is utility signs.

We use a considerable quantity of utility signs and I have used and made many including silk-screened, cut vinyl, laminated and printed label signs. But these 3D-printed ones are already my favourite and I am just scratching the surface on what we can do.

I recently received some feedback on Reddit about them and many people said everything from “you can get a sign from the dollar store” to “won’t last”. But I not only beg to differ, I feel it is awesome that we can put our printers to yet another use that saves on trips to the store, shipping and wasted other materials to get a factory-made non-custom sign. Now we can make application-specific signs fast, cheap and of high quality.

For outdoor signs of course you need to use a suitable material like ASA. But even considering the higher cost of ASA, it is still very inexpensive to make your own signs. And, the print quality that I am getting is as good as or better than many commercially made signs and certainly better than the dollar store signs.

Please see my notes about scaling the sign.
SCALING NOTES
When scaling the sign be sure to do a non-uniform scale of just x and y. Do not scale the Z-axis. If you want to scale z, only scale it bigger and in multiples of your print layer height (which should be 0.2mm).
HOW TO PRINT
1. Import the model into your slicer. The sign is oriented face down.
2. Without disturbing the model, change the colour of each model object or component to your desired colour.
3. Group or merge the objects so that they do not shift or become misaligned.
4. Now you can scale, flip, and rotate if desired.
GENERAL NOTES
1. The sign is designed for a 0.2mm layer height.
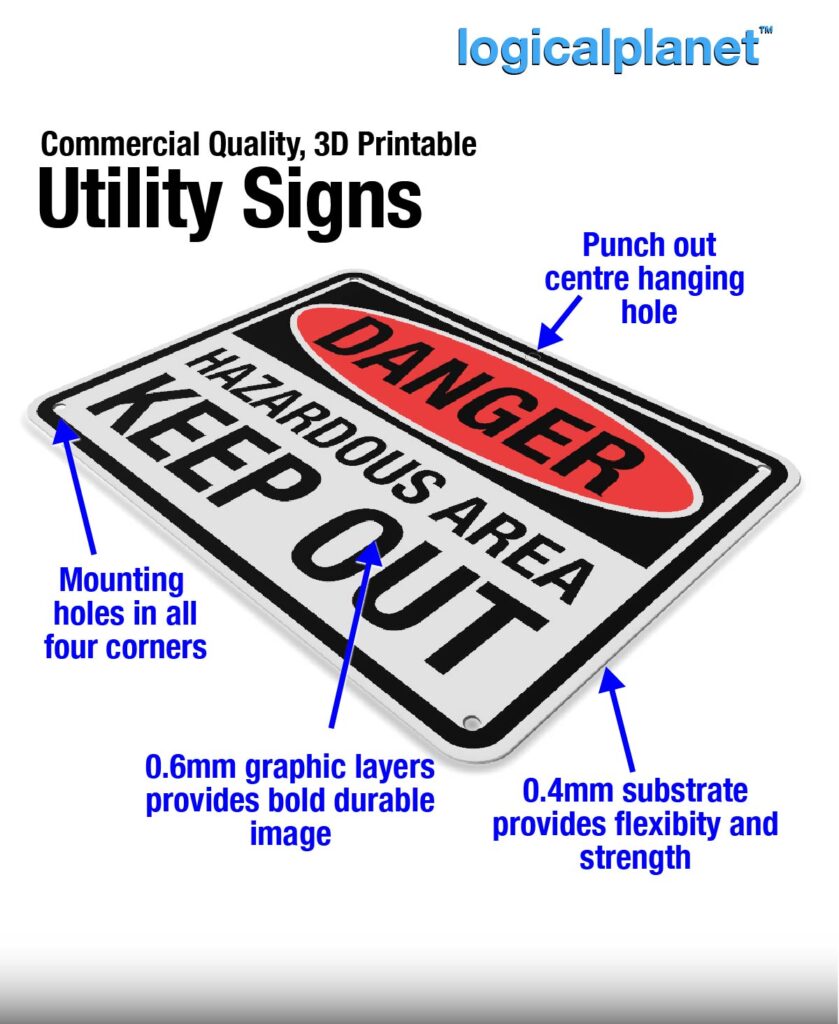
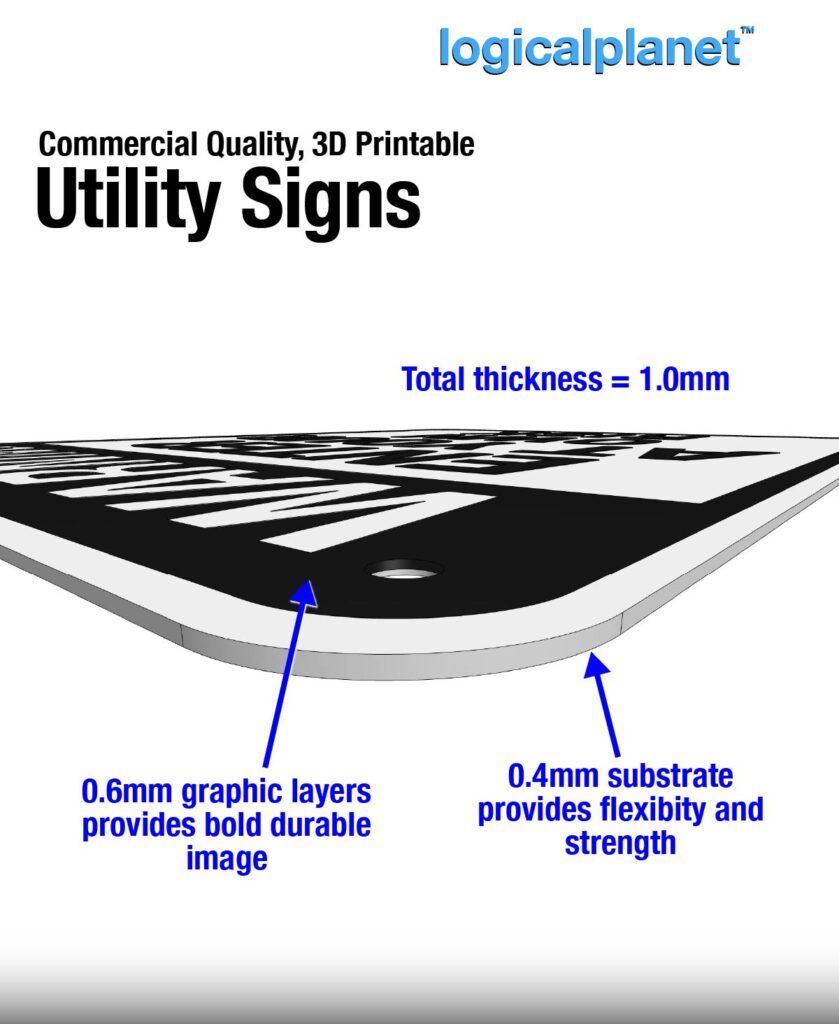
2. The height/thickness of the sign is 1.0mm.
3. You can scale all the models as desired but be sure to group or merge the components of each model first before scaling, and only use non-uniform scaling; only scale x and y, do not scale z.
4. The sign has only 1 object or component for each colour allowing you to set the colors in your slicer very easily. However, this will cause some slicer messages you should be aware of. See the “Slicer Error” notes below.
5. Print the sign face down for a smoother finish on the front.
IMPORTING TO YOUR SLICER
When Importing the file to your slicer, answer as indicated if you are asked any of the following questions…
Anycubic —————
- “This file contains several objects positioned at multiple heights Instead of considering them as multiple objects, should the file be loaded as a single object having multiple parts?” = NO (this keeps the parts located together)
- “The dimensions of some objects from the file _____ seem to be defined in inches. The internal unit of the program is a millimetre. Do you want to recalculate the dimensions of these objects?” = NO
OrcaSlicer —————
- “The object from file ______ is too small and may be in meters or inches. Do you want to scale to millimetres?” = NO
Bambu —————
- “The object from file ______ is too small and may be in meters or inches. Do you want to scale to millimetres?” = NO
SLICER ERRORS
I have used a design technique that allows all the objects of each colour in the sign to be grouped and laid on a substrate for strength. This grouping allows you to easily set and change the model’s component’s colours. However, this design approach will result in some slicer warnings and errors. You can safely ignore the following warnings and errors when slicing this flag model:
- tool path conflict
- shared path
- unsupported runs
Below are specific errors for a few different slicers are shown here, you can ignore these errors when printing this sign.
Anycubic —————
- “Error: Conflicts in G-code paths have been detected…” = IGNORE
- “Warning: Empty layer between…” = IGNORE
- “Warning: Detected print stability issues” = INGORE
OrcaSlicer —————
- “The object has empty layers between…” = IGNORE
- “____ is too close to others; there may be a collision when printing.” = IGNORE
Bambu —————
- “Warning: Objects can’t be printed for empty layer between…” = IGNORE
- “Warning: It seems object ____ has floating regions…” = IGNORE
I am working on more signs and plan to eventually post them, but if you are interested in a specific sign not already posted, please send me a message and I will prioritize it.
This model is 100% printed – no hardware, fasteners, or adhesives required. No support is required.
This project was and is a lot of files to manage. if you have any issues with a downloaded file, please let me know and I will address it.
Printing
Thin graphics designs such as this one generally will work well with your default slicer settings.
This product was designed for a 0.4mm nozzle, a 0.2mm layer height and the following settings:
- Wall Line Count (minimum) = 2 ( 2 x 0.4mm = 0.8mm walls )
- Top & Bottom Layer Count (minimum) = 3 ( 3 x 0.2mm = 0.6mm top & bottom )
- Infill = Not applicable
- Ironing = Optional (not needed)
- Support = None required
- Brim = NO
- MATERIAL: PLA (or ASA for outdoor use and increased life expectancy)
- PRINT ORIENTATION: Face down
Assembly Notes
No assembly or post-print processing is required.

Leave a Reply