My sister recently had shoulder surgery and was unable to use an arm for a period of time during recovery. She wanted to play cribbage to pass the time but needed to do it with one arm only. And so, here is a collapsible, adjustable, card holder for her…
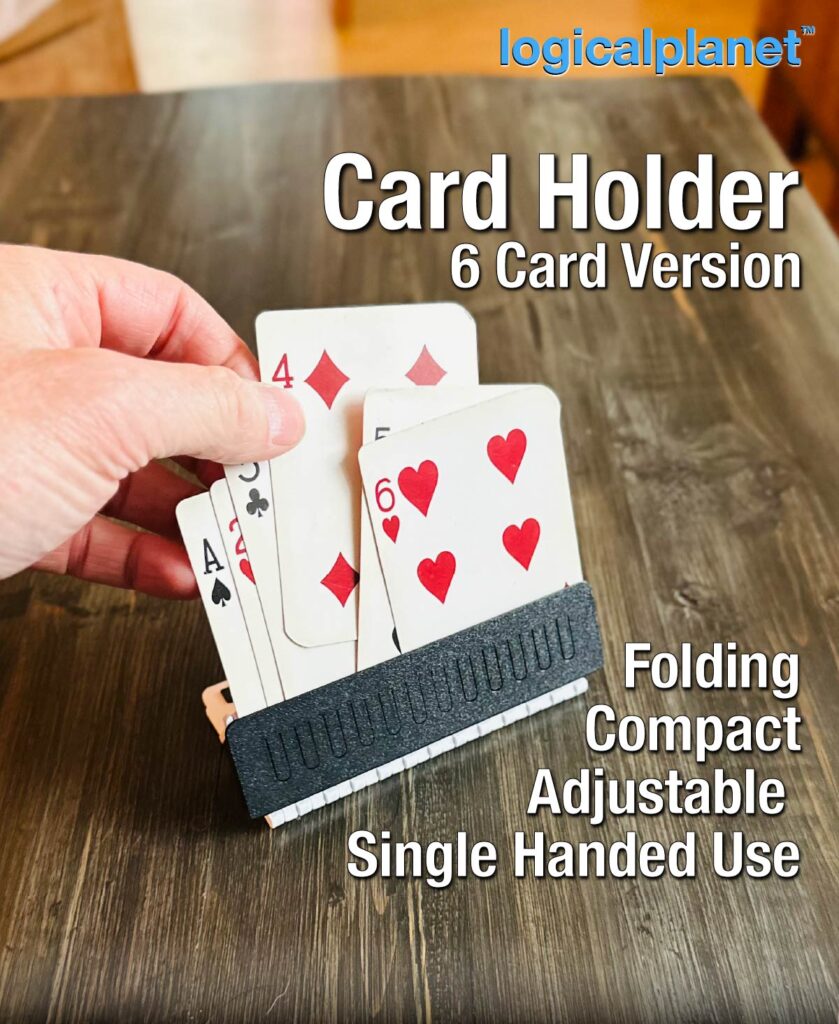
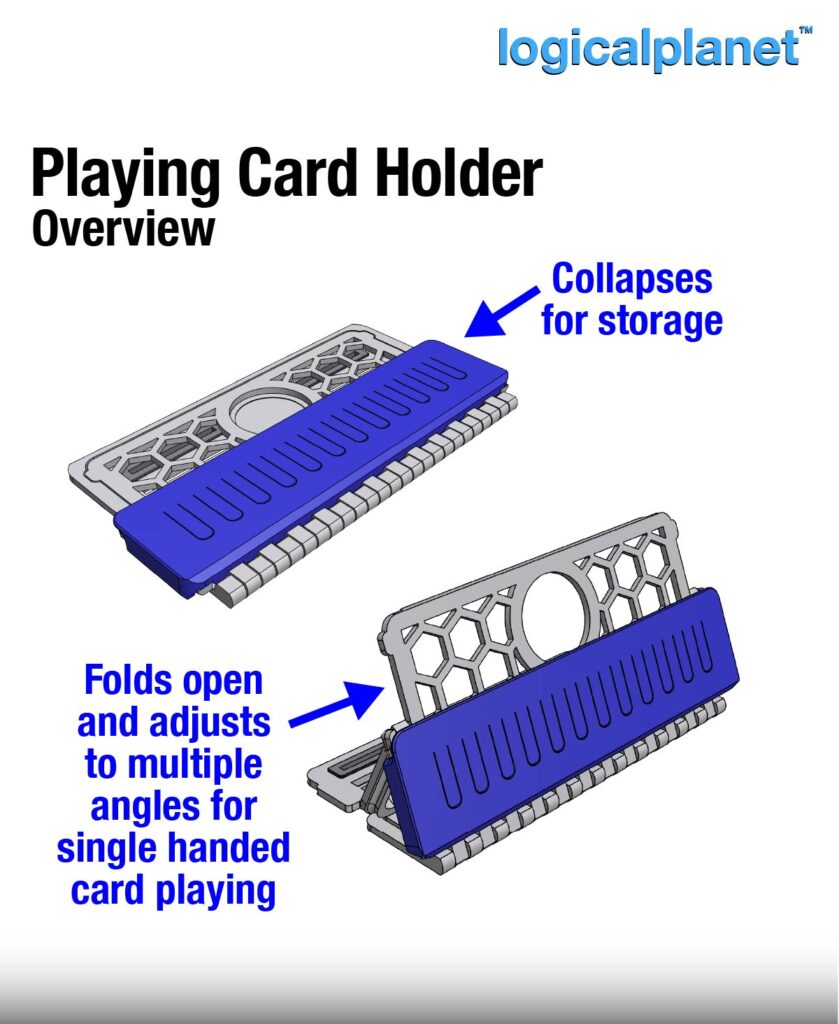
There are many card holders out there but I could not find any that were collapsible and adjustable which I thought were two good enhancements for portability and convenience.
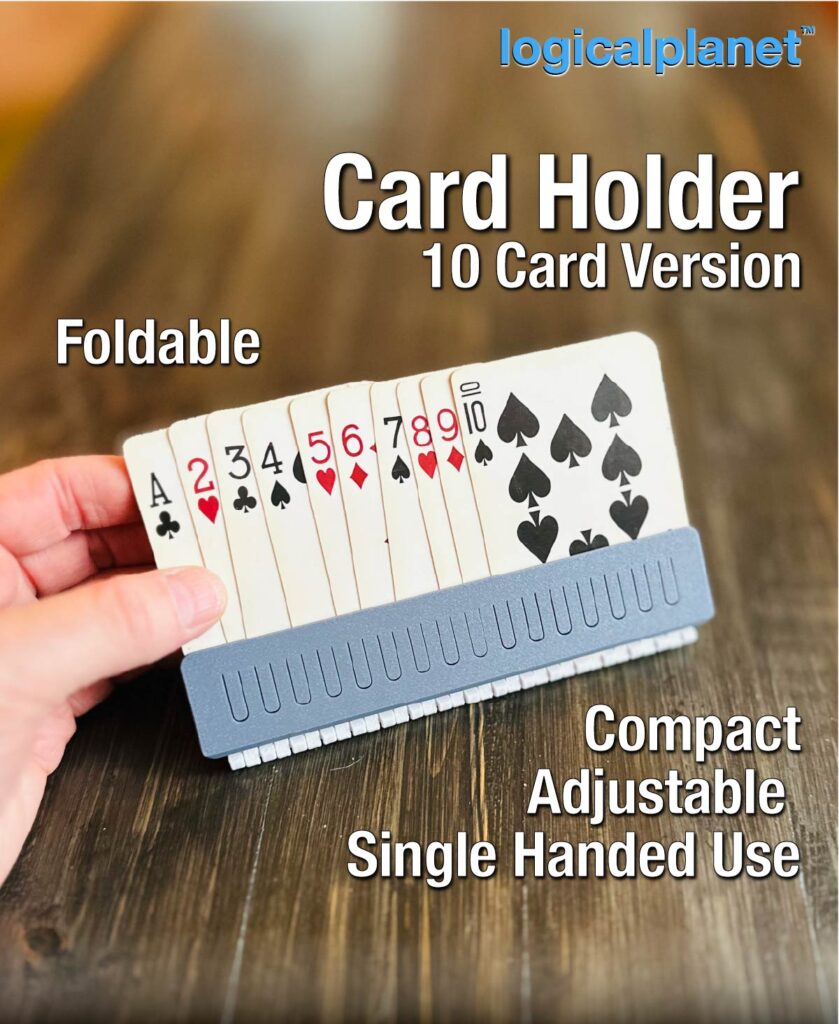
I have made two versions so far, a 6-card version and a 10-card version. It is possible to make a larger one but large would be inherently less portable so unless someone specifically wants it I will probably stop here.
One of the nice features of this design is that you can turn your hand down to the table quickly and conveniently if you need to step away from the game.
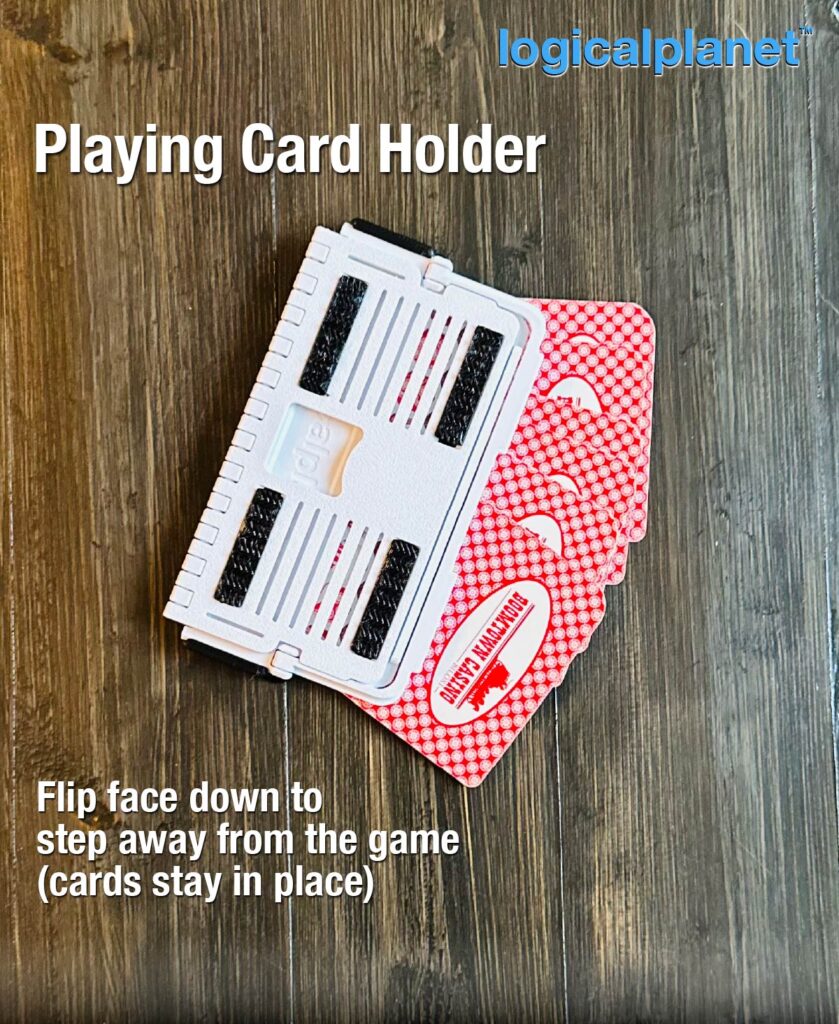
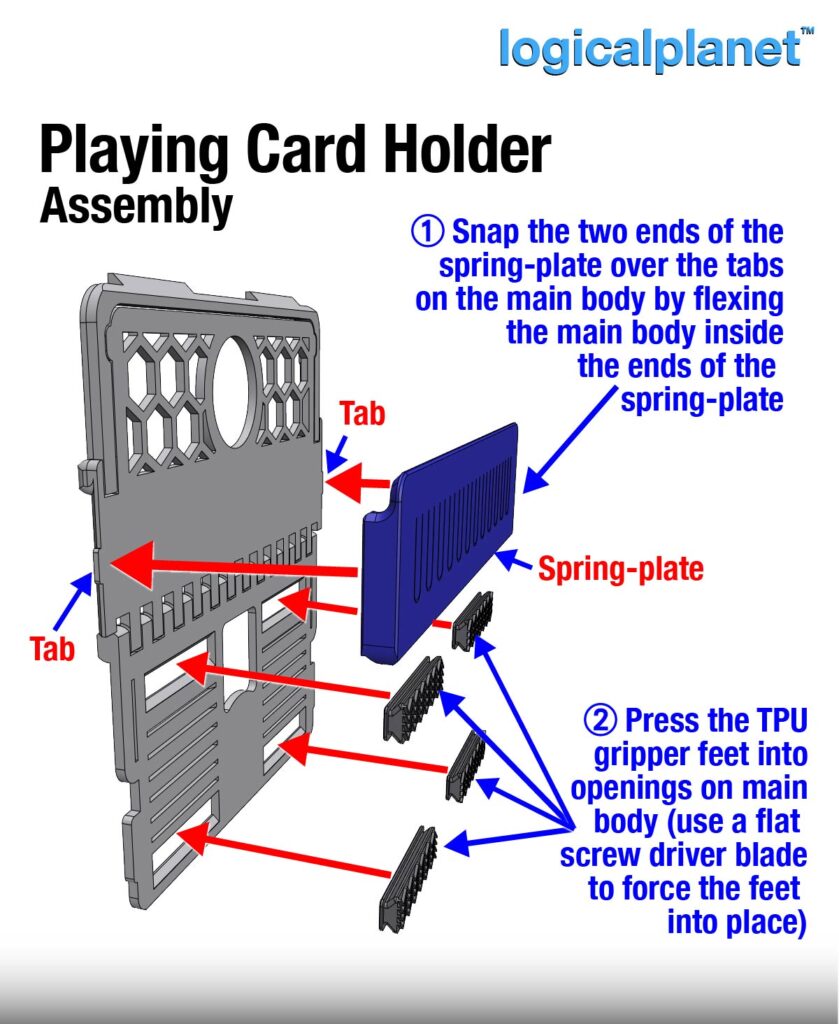
The assembly prints in 2 pieces, the main body, and a spring plate that snaps onto the main body. The spring plate gently pinches the cards so that when you slide them into the holder they stay in place.
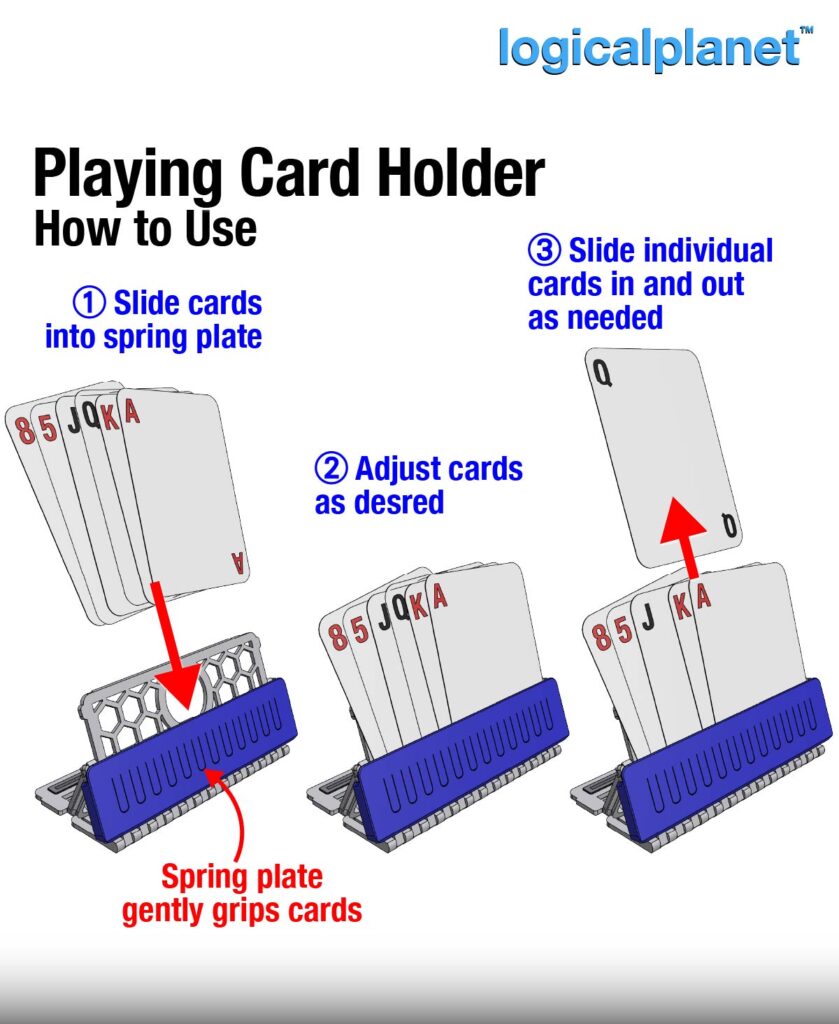
Using the holder is as simple as sliding cards in and out. But you can adjust the viewing angle by repositioning the support arm on the back side of the device.
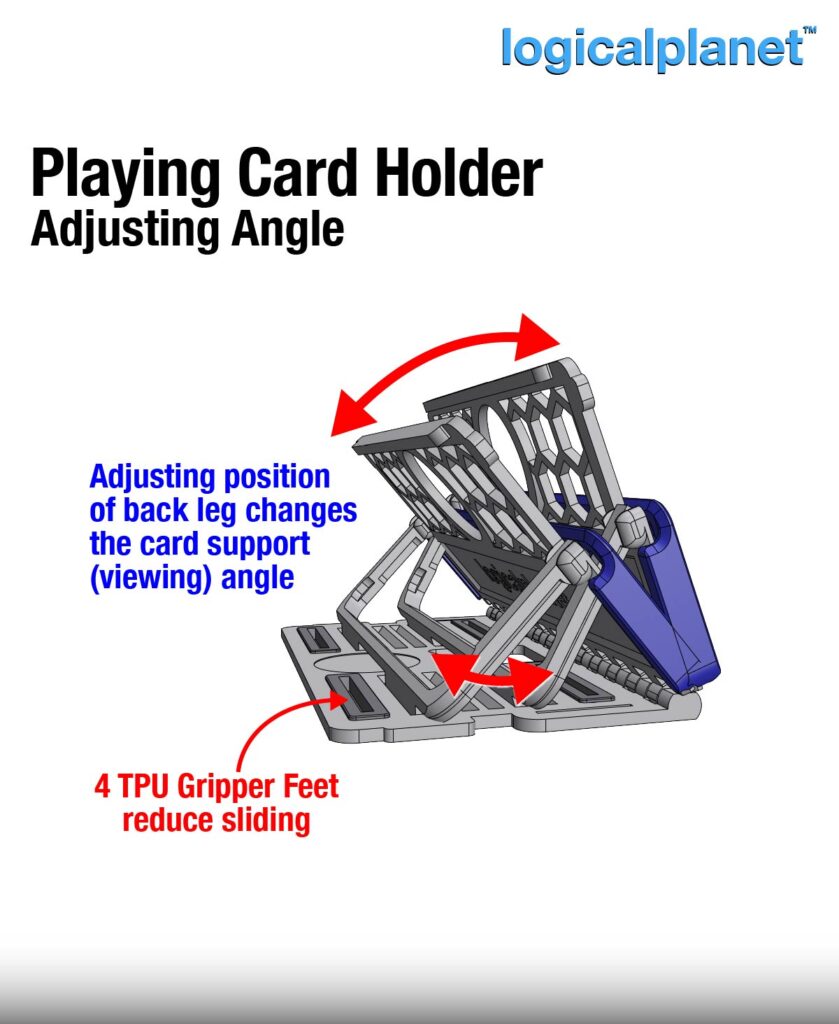
Four optional gripper feet (printed in TPU) can be installed to reduce sliding on a table surface.
Printing
Functional designs (such as this one) generally require more strength than non-functional designs and more strength than the typical default slicer settings provide, so please review your slicer settings carefully.
This product was designed for a 0.4mm nozzle, a 0.2mm layer height and the following settings:
- Wall Line Count = 2 minimum, 4 recommended ( 4 x 0.4mm = 1.6mm walls )
- Top and Bottom Layer Count = 5 ( 5 x 0.2mm = 1.0mm top and bottom )
- Infill = 40%, Cubic
- Ironing = OFF (not needed)
- Support = none required
- Brim = NO (a brim can complicate details of print-in-place parts and parts printed close together – If you have to use a brim, set it to “outside only”)
- MATERIAL: PLA (any material should work fine), TPU for the gripper feet
- PRINT ORIENTATION: As shown

Assembly Notes
Assembly is as simple as snapping on the spring plate to the main body. Flexing the main body slightly is necessary to get the spring plate on but once it is on it will stay in place.
Four optional gripper feet (printed in TPU) press fit into the main body as shown.

Leave a Reply