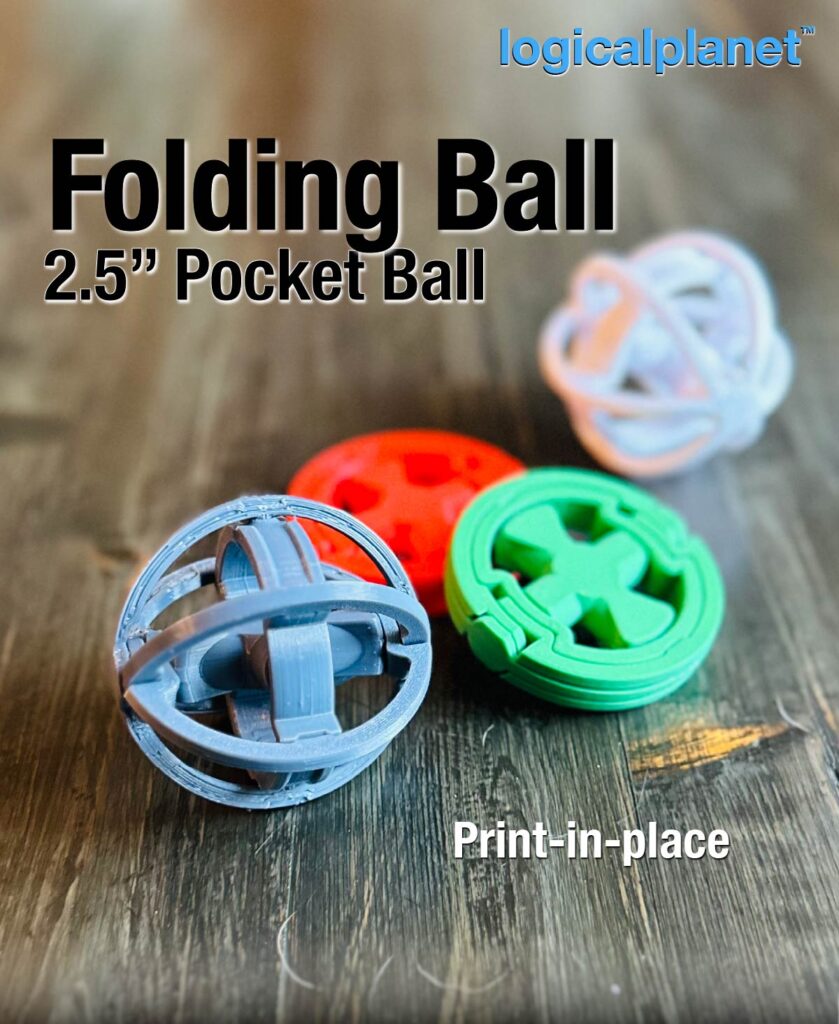
I had the idea to try to make a folding ball some time ago but only recently put my mind to it. It just sounded like a fun idea/challenge and also a super practical product if it works. And… here it is…

I often walk my dogs to a place that has some running space but generally don’t bring a ball as it is not too convenient to try to put a ball in my pocket… well until now! This folding ball fits into any pocket and can be carried around just waiting for an opportunity to be played with.

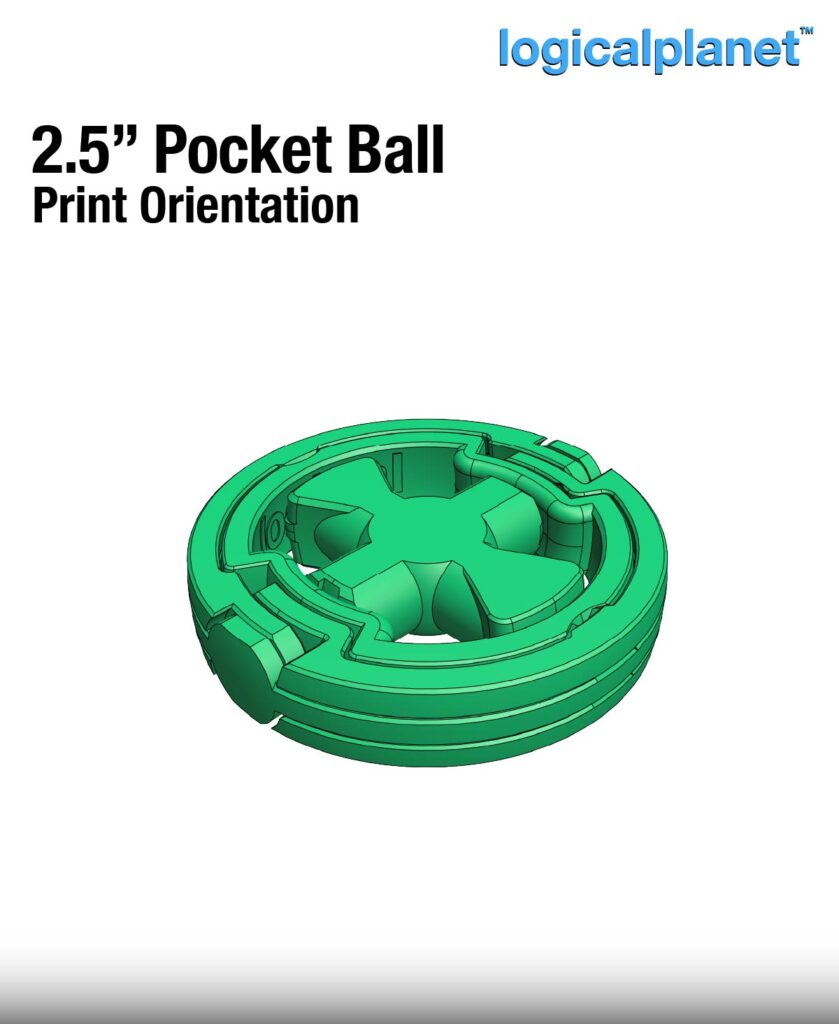
This is a print-in-place 1-piece ball that folds (not collapses) into a 12mm thick disc. It can be deployed and collapsed quickly and easily.
So far I have made two versions of this 2.5″ ball; a) a lightweight version for cats and small dogs and b) an “HD” (heavier duty) version for a little bit bigger dogs. The HD version has a middle core that serves two purposes. First, it increases the overall mass which helps with throwing, and second, it strengthens the ball by creating a cross member in the middle of the deployed ball. My 60lbs dog loves to chase balls and can nonetheless destroy this one in a heartbeat so I had to teach him not to bite it. But I am motivated to make a stronger bigger one for him and other bigger dogs.

Printing
Of course, your material selection and slicer settings are major contributors to the success of this print depending on your needs. I think if you are printing it for a cat, for example, default slicer settings and PLA would probably be fine. But for a medium-sized dog, you will need PETG, Nylon or something else similarly strong. And, you will want to print with a minimum of 4 walls and 100% infill.
This product was designed for a 0.4mm nozzle, a 0.2mm layer height and the following settings:
- Wall Line Count = 4 ( 4 x 0.4mm = 1.6mm walls )
- Top and Bottom Layer Count = 5 ( 5 x 0.2mm = 1.0mm top and bottom )
- Infill = 100%
- Ironing = OFF or ON; ON will help separate the layers but I had good success without Ironing (and its added print time)
- Support = NO
- Brim = NO
- MATERIAL: PETG recommended (any material should work fine)
- PRINT ORIENTATION: As per the STL

Assembly Notes
No assembly is required. Gently separate the layers of the Outer Rings so that they can open freely.


Leave a Reply