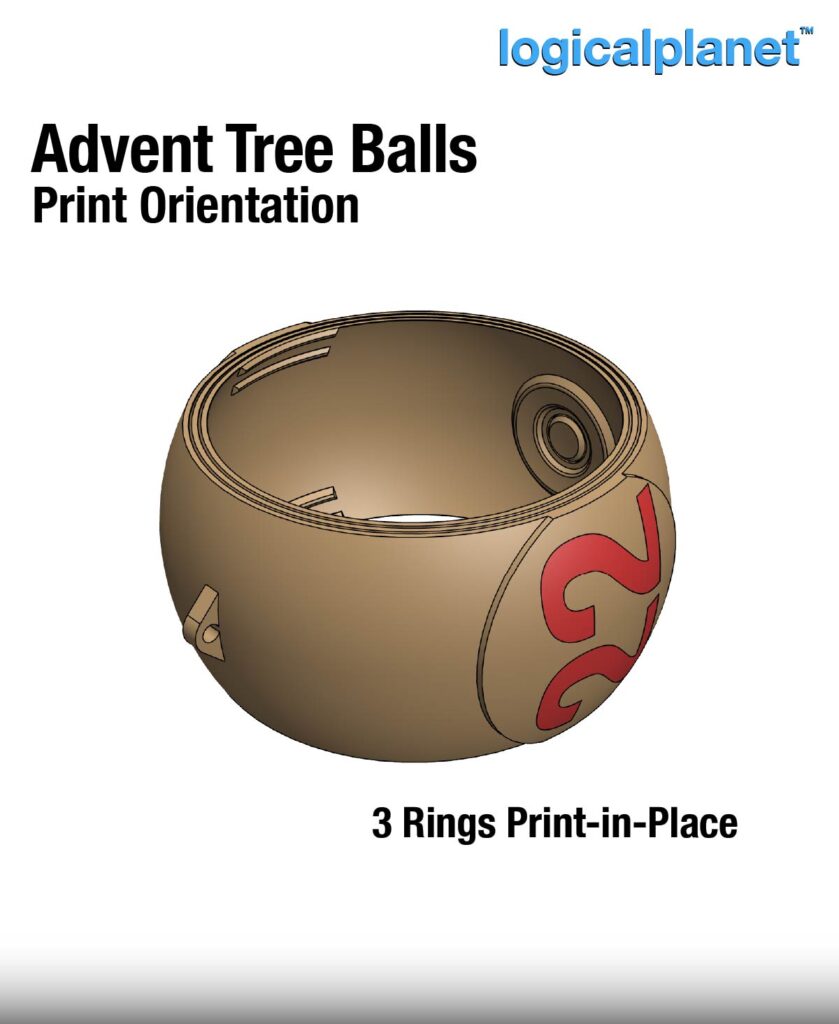
After making my collapsing tree ball ornaments this week I could not help but create these. It seemed like just such a natural thing to do and several people asked for them. Basically, numbered tree balls so you can make your tree into an advent calendar-style game for your loved ones.

Of course, you will need a multi-filament printer (AMS) to make these. Once printed the balls simply fold open and closed to collapse or conceal a prize that you put inside.

The balls are 3.0″ (76mm) in diameter. I have made the balls from number 00 to 24.
The balls are 100% 3D printed and no hardware, fasteners, or adhesives are required.

Good simple fun. But give yourself lots of time to print them!
Printing
Your default slicer settings should be ok with the design except for a few minor adjustments. For sure you need to enable Arachne (automatic if you are using Cura) and also consider setting Walls Seams to random to avoid a seem.
Here are my recommended settings:
- Material: PLA
- Nozzle: 0.4mm
- Layer Height: 0.2mm
- Line Width: 0.4mm
- Wall Count: 2 (0.8mm)
- Top and Bottom Layer Count: Minimum 3
- Detect Thin Walls: ON
- Infill: 0%
- Ironing: Not required
- Brim: No, should not be needed. But if you are having trouble you can enable it – but it will create a lot of extra post-print processing for you to do.
- Support: No
- Wall Generator: Arachne
- Detect Thin Lines: Yes
- Wall Seams: Random (to avoid a seam)
- PRINT ORIENTATION: As illustrated and as per 3MF files

Post Print Processing and Assembly Notes
After printing the ball sections can be difficult to separate for the first time. Using a thin flat and flexible blade like a feeler gauge works excellently to “unstick” the parts.
Rotation of the sections of the balls may be slightly more difficult the first time you attempt it. Take your time to twist the balls open and closed until the parts move easily. There are slight detents at the full opened positions to help keep the balls opened in equal proportions.
Also, note the 3 sections of each ball can be fully separated if needed to help clean and smooth them. Just squish the inner section to pull it out and then the next one. Squish them slightly to return them.

Leave a Reply