I design and print probably three times as many things as I post, often because I feel there will not be a huge audience for some of the things I design, and other times, it is just a matter of not having enough time in the day to document and post them. This one would have fallen into that category, but my wife loves it so much she insisted I post it. So for all the lipstick wearers out there….

The idea is to place this on the wall near a mirror somewhere accessible before going out. Lipsticks (and similar) go in with their end label showing and individually organized so any one can be accessed.

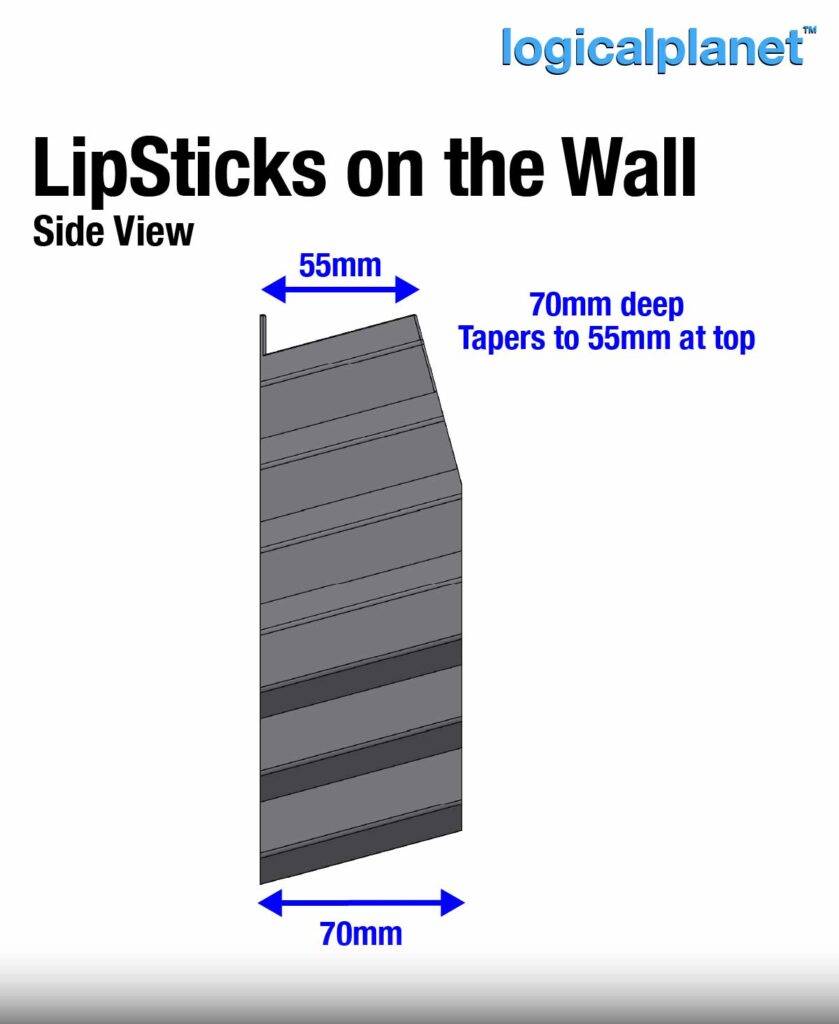
In addition to the 26 pockets, a large open tray on the bottom as well as another open tray on top leave plenty of room for oversized items.

The unit could be stuck to the wall using 3M Command Strips or similar but I wanted to screw it to the wall so I added some keyhole style mounting slots on the back side. I am only using the top two but there are four provided.

My wife has quite a range of lipsticks to organize in this unit so I tried to make the depth vary a little to accommodate small (shorter) ones compared to the longer sticks. The intent is that each lipstick sits out just far enough to be grabable.

Printing and Print Settings
The model will fit on a 250mm print bed, but… it is tight. To get it to be printable, I used the “auto orient” feature in my slicer to get it just at the right angle to fit the bed of smaller machines with a 250x250mm size.
This product was designed for a 0.4mm nozzle, a 0.2mm layer height. For best results, I suggest the following:
- Material = PLA or PETG
- Nozzle = 0.4mm
- Layer Height = 0.2mm
- Line Width = 0.4mm
- Wall Count = 4 (1.6mm)
- Top and Bottom Layer Count = 5
- Detect Thin Walls = ON
- Wall Generator = Arachne
- Infill = 40% (Cubic)
- Support = None required
- Print orientation = As per the STL/3MF files and the included image
Assembly Notes
Nothing to assemble. Just mount it on the wall.

Leave a Reply